THE BASICS: Seeing Shapes
You’ve bought a sketchbook, pens and pencils, headed out into the great outdoors and have found a spot that says “Draw Me”. But where to start? How do you sort out what you’re seeing? How do you avoid doodling around drawing leaves and then realize the tree itself looks all wrong?
Here’s an approach I think you’ll find useful…look for the biggest, simplest shapes.
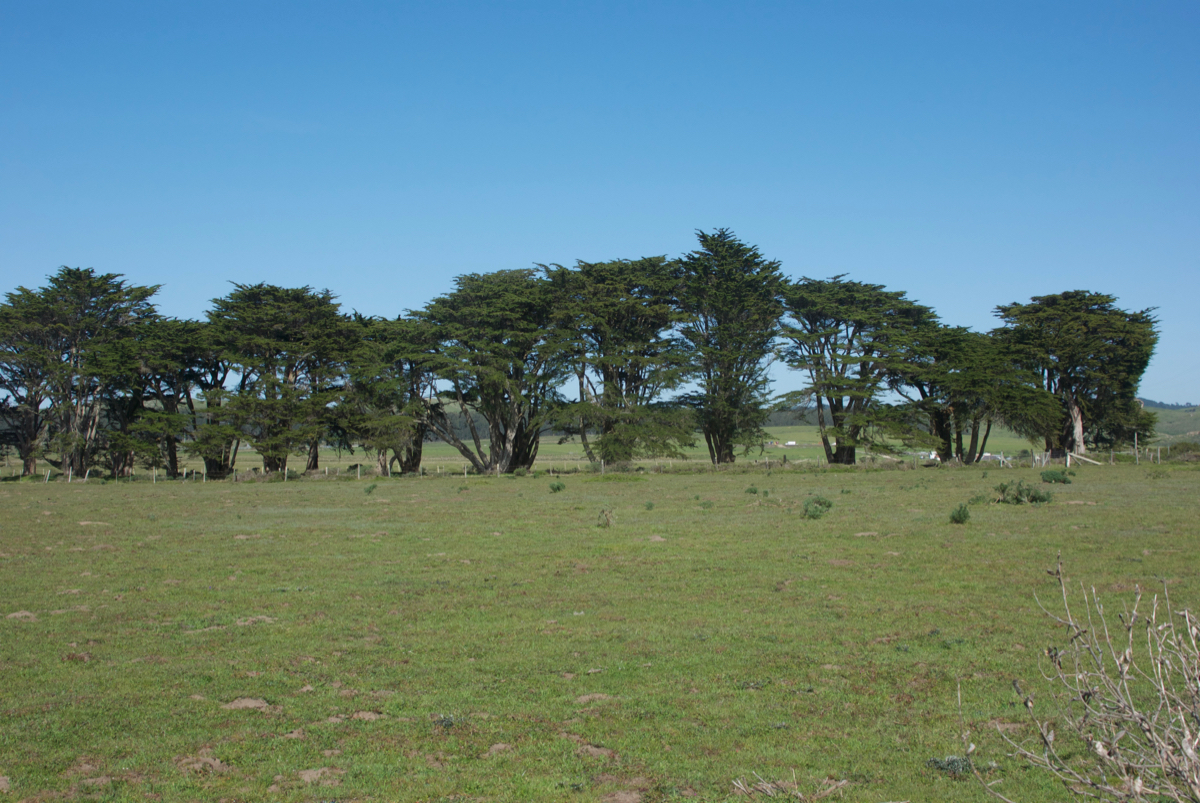
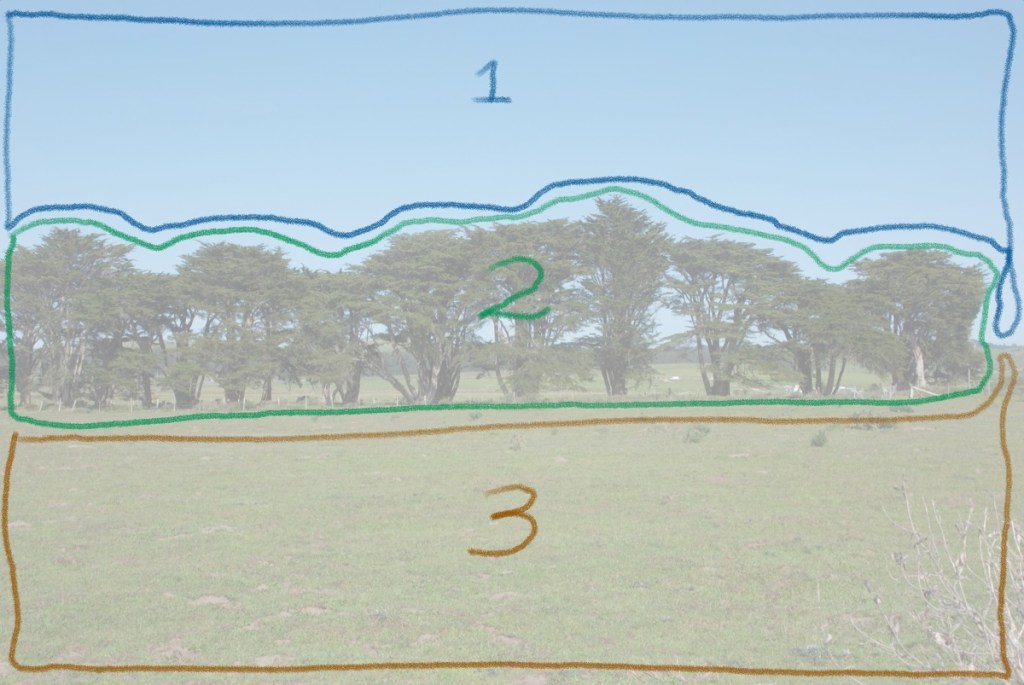
I picked the above photo because the scene can easily be divided into three shapes…sky, line of trees, ground.
EXERCISE:
You will need:
A 8×10″, 9×12″ or similar size wirebound sketchbook
A regular pencil
A kneaded eraser
A few colored pencils
A landscape photo that you like, preferably not too complex, or you can draw from the one at the bottom of the post.
On a page of your sketchpad use your pencil to lightly sketch a rectangle as close in proportion as you can to the example. Do it freehand, no ruler. You’re also going to be working on hand-eye coordination and motor skills.
Next, looking at your photo, find the largest, simplest shapes and draw around them with your colored pencils, one color for each shape.
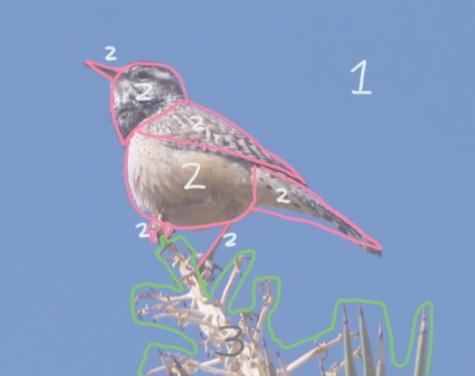
Within each large shape find some smaller shapes, like I did with the bird below. I wasn’t looking at features, feathers or markings, just the most basic shapes.
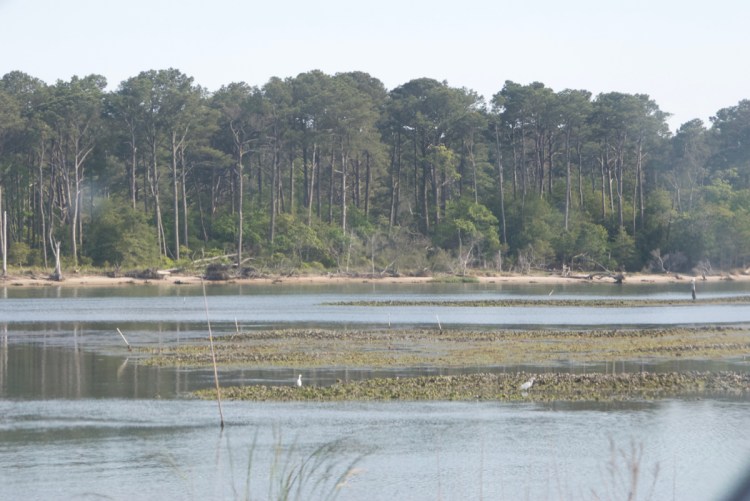
If you use the one below, you’ll need to decide if you’re going to treat the water as one big shape or two or maybe four. Also whether or not to treat the background land as one shape or two…the vertical trees and the shoreline in front of them. It’s entirely up to you and these kinds of choices are what you will be making out in the field.
If you’d like to show me what you’ve done, post your work in the comments. If you’d like me to comment (I promise to be postive and kind), just ask.
